

The potty is an essential feature of any off-grid scenario. There are many, many options for how to set-up the facilities for long-term success to include a traditional outhouse, composting toilet, incinerating toilet, and others. We chose to go with the ‘bucket system’ for a variety of reasons, but one of the biggest reasons was that it allowed for us to move the toilet without digging any new holes. Here is a brief review of our outhouse design evolution, and the steps we took to move the building last summer.
When planning your outhouse, you may think of finding the perfect permanent place to sit on your throne. However, it may be necessary to move the potty for several reasons: the hole fills up, the site drainage causes problems, the location becomes too close to new buildings, the walk is too far, the view changes, and the list goes on. We started our plans with portability in mind from the beginning. We knew that our site would change over time as we improved and added to the homestead, so we built our potty to move… Literally, a bucket in a box.


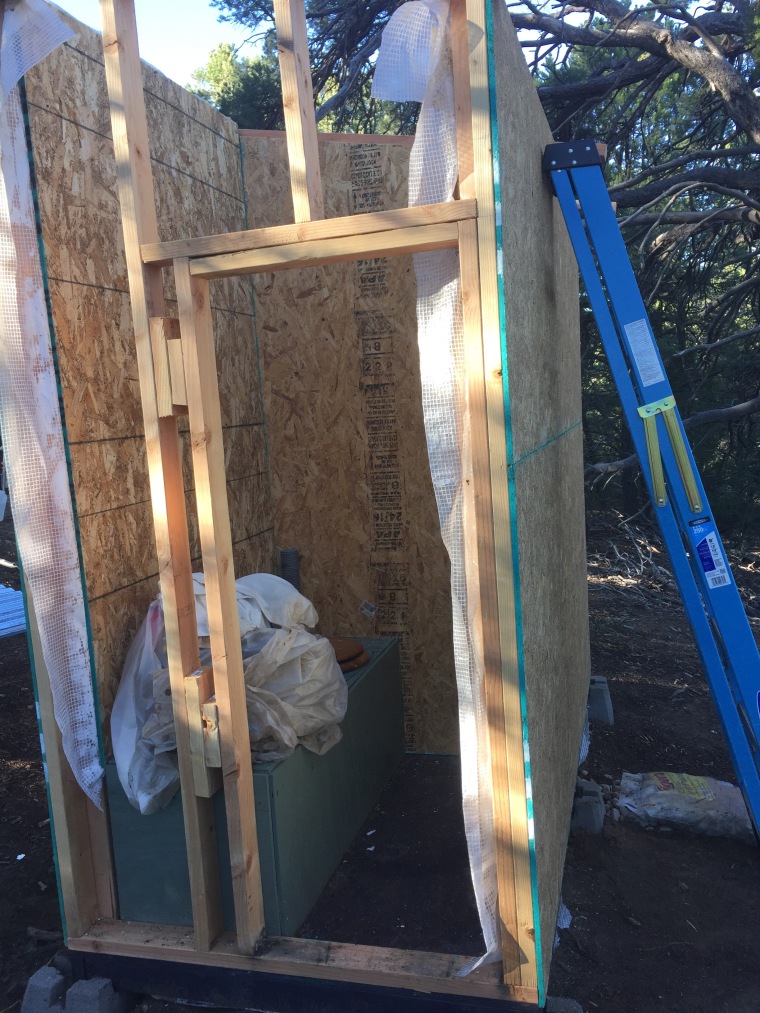
From there, we built a 4×8 foot outbuilding. Half of the space was for the toilet (we just dropped the bucket box right inside), and the other half was for storage. We leveled the area and used concrete piers to support the framed plywood.


For a couple of years, this is where is the outhouse stood. During that time, we built the big deck and moved the yurt. We marked out permanent space for the garden, moved the fire pit, and designated new trails. It became clear that the outhouse/storage shed needed to move about fifteen feet so it fit better with our long-term plans. While we didn’t need to dig a new pit because we are on the bucket system, we believe that we could convert the building to serve as a hole-style toilet by punching and trimming out an outlet in the floor, if desired. We also believe our method to move the building would work if we had a traditional outhouse hole, with a few minor adjustments.

We didn’t have a lot of manpower or heavy equipment to help, so we planned to use a series of 2-inch PVC pipes and 4×4 timber rails as a way to roll and guide the building over the terrain to the new location. (We made this decision after considering installing wheels and handles, trailer jacks, and other off-beat and more expensive contraptions.) After we had the new site ready with piers, we used a floor jack to lift the building up off the old piers.

We used the side-by-side and ratchet straps to pull the outhouse onto the pipes and rails. The 4×8 structure was heavy enough and awkward to handle with two people. It was difficult to compensate for the slope and weight, so sometimes the building would slide off track. There were some nail-biting moments as we eek-ed across, but we finally were able to wrestle the building into place. (View the series on Instagram.)


All-in-all, the move took a few hours to complete and no one was harmed in the process. The loo has a great new view out the door, and the storage space is more conveniently located to the garden and work areas. We hope to keep the building here for the foreseeable future, but at least we know we can move it if we need to!


How about you? What’s your view when you poo? Would you like to see a pic of Sahalee from our loo? Thank you for reading and sharing your comments below!