
If you were following us in 2016, you might remember the bathroom breakthrough we had when we brought our outhouse online. Since taking on the little project we are now calling ‘Casablanca’ in town right before the orders to shelter-in-place came down, we’ve spent a considerable amount of time learning about indoor renovations and plumbing. Almost exactly one year to the day, we’re finally able to reveal our second perfectly posh potty- complete with running water!
We didn’t intend to start work on such a major project in the big adobe house (built c. 1943) last summer with Ben working regular fire assignments out of town, but the shower spoke up for itself when the wall gave way under the pressure of regular cleaning. Carey took on the lion share of the job in Ben’s absence, occasionally calling in some backup on MEP, air tools, and brute strength detail.


We had an idea about what we wanted to see in end, but the reality of getting there hit hard and fast when there was literally no option for us to hire outside help for the specialty trades in this remote rural village. Between the two of us, we had some general renovation labor and rough trades experience on building sites with former jobs and past home improvement projects, but taking on a full tear out and rebuild of a complete bathroom was one of our most intense ambitions. With a total out-of-pocket cost of appx. $10,000 in materials and licensed trades, we kept pretty much to our expected budget. DIY hours worked were probably close to 500.

See more vision boards for Casablanca on Pinterest.

What became completely obvious after the walls started coming down was that this project was going to be a major, imperfect, and lengthy undertaking that would prove to test our capability, will, and patience. Quickly, the mantra of ‘it’s better than it used to be’ took hold to redeem any of our missteps along the way, and we had a hard visual reminder that we always be ‘learning as we go.’
Demo was by far the most successful and satisfying portion of the project, and it necessarily started up several more projects along the way (hallway, bedroom entrance and heater, laundry nook, water heater upgrade, roofing upgrade). ‘Scope creep’ seems like a trite way to describe it.

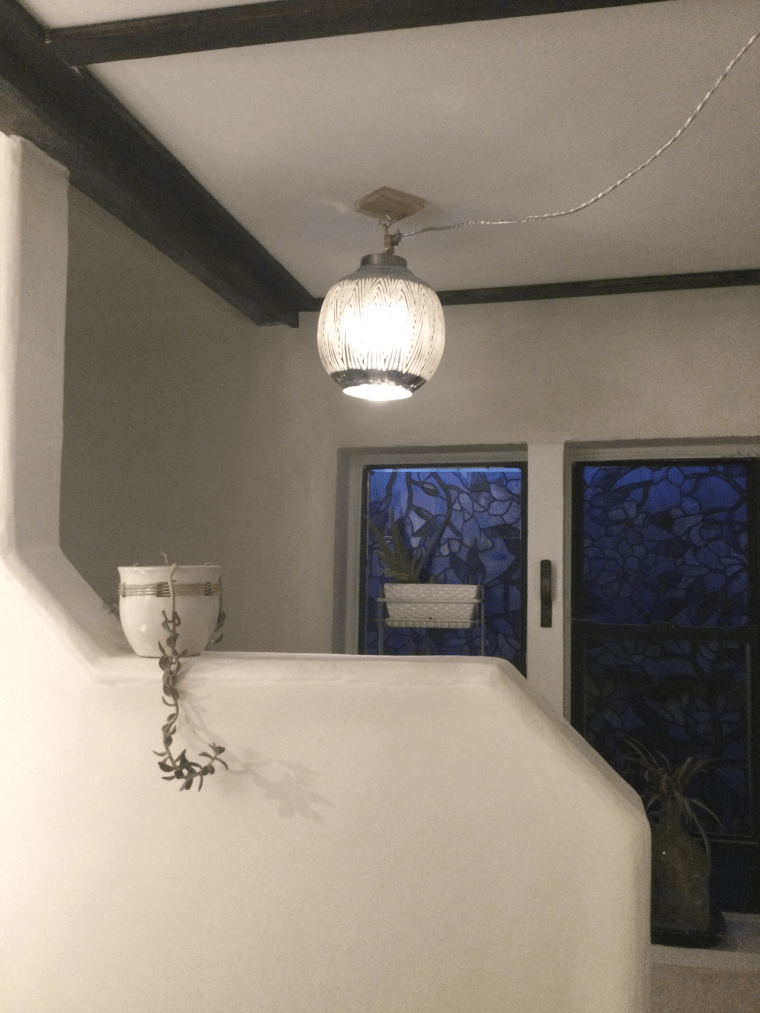
The ORIGINAL bathroom was just the small narrow space with sink, toilet, and shower. The laundry space was added later est. 1980.


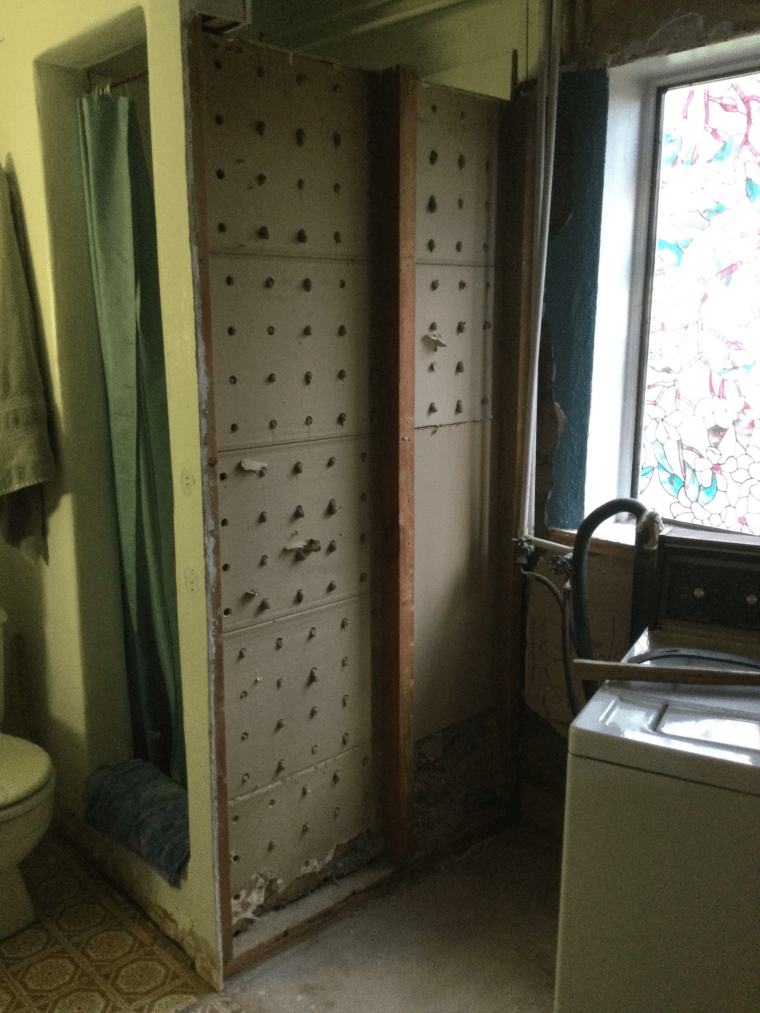
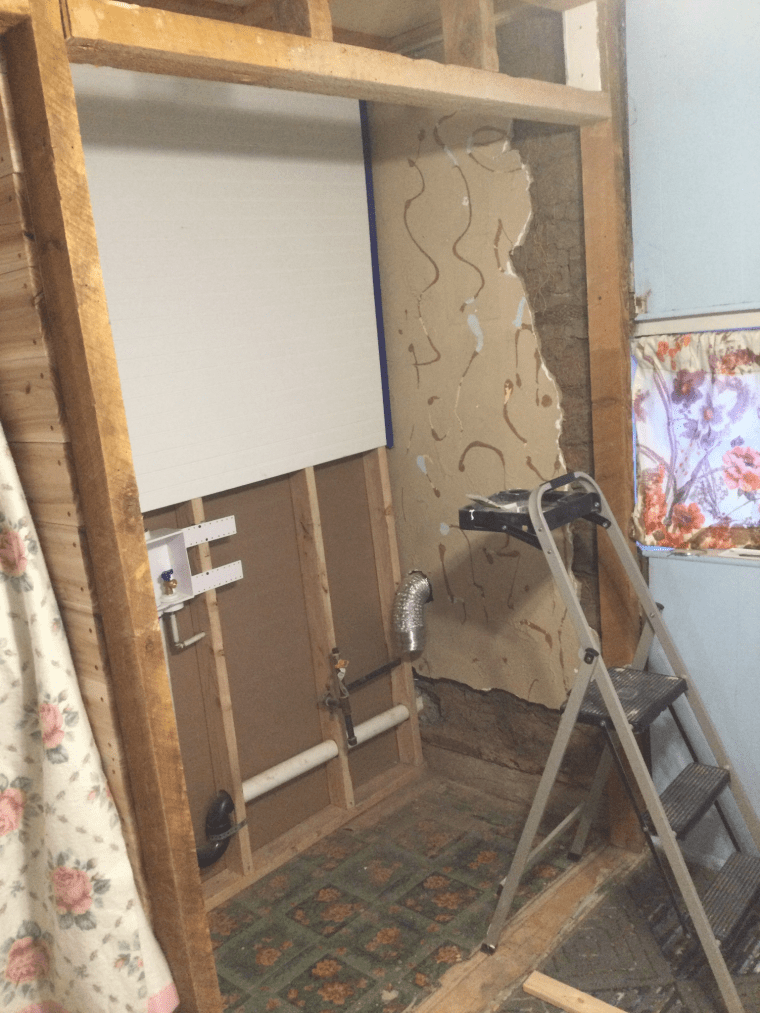
We knew the bathroom fixtures were on the list to replace, but then there is the minor little detail of tearing up rotten floor to reveal bare dirt to bring the fullest sense of commitment to light. And then there’s the reality of living with an open earth pit inside the house for weeks on end to ceaselessly remind you that asked for this madness. Didn’t someone say it was easier to live off grid in a yurt?


Framing up floors and new walls, I’m told, is one of those ‘must do right’ kind of things when building. That is something that I can’t say I really know how to do, let alone right or well. Our prior building projects at Sahalee (PV power house, yurtdeck, stairs) didn’t require a great deal of precision as stand-alone features. The Casablanca porch was more of a glorified deck and all of these were approached with the mentality of childhood fort-building, none requiring fine carpentry skills. Why change the way we do things now? Especially since there is no such thing as a level line or square corner in a mud house.


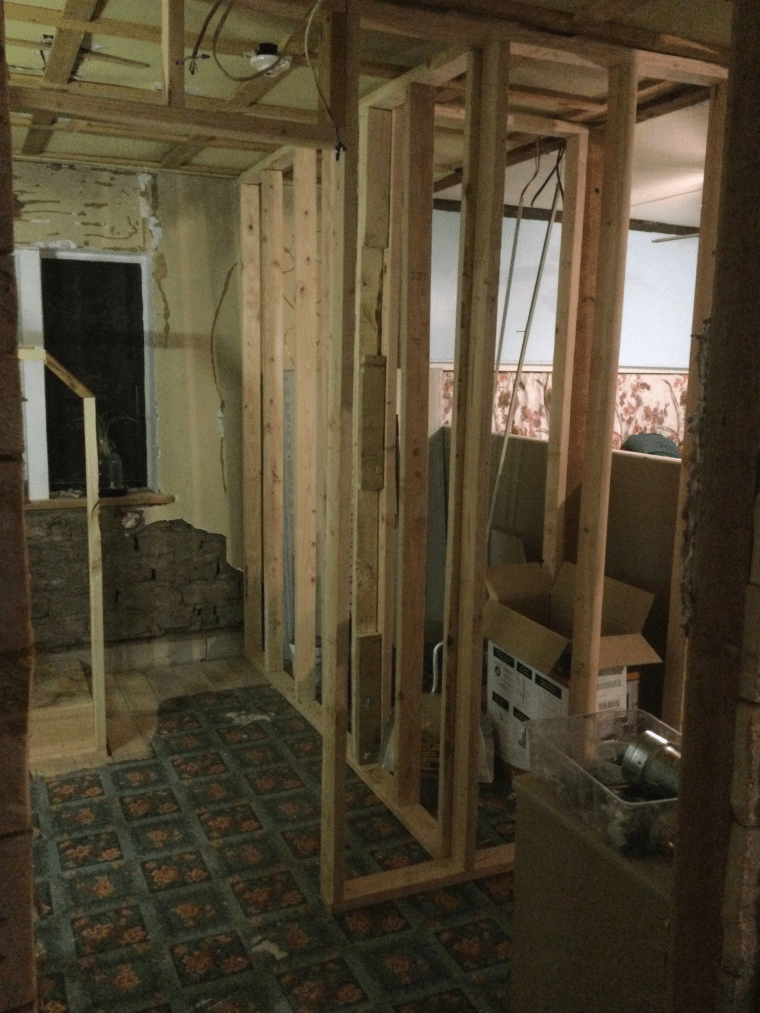

At this point, let me introduce the Frankenstein wall… As much as I loved geometry in high school, I could not for the life of me figure out the math on this short wall flanking the new bathroom door. We were going from about a 30-inch passage at one end of the hallway to the new section at about 40 inches wide. I made 2×4 cardboard templates to layout the framing before I cut any wood. Even so, I ended up having to cut, recut, and cut again to make the angles fit well enough. To be frugal, I’m also pretty insistent on making use of remnants and whatever scrap wood I have around, which most certainly is twisted or bent. Anyway, I was able to work things out well enough for the licensed electrician to work in the attic to relocate the switches and outlets before I closed everything up.


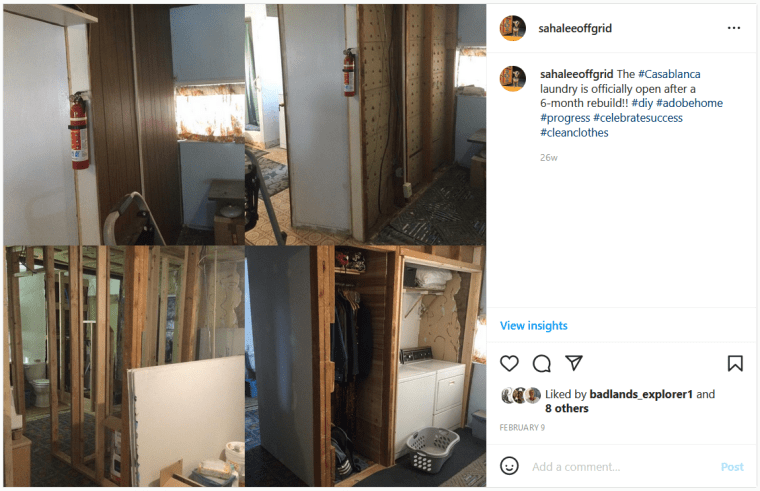
Bonus project: Laundry nook and cedar closet came out pretty nicely after the framing was up. The friendly helpers returned to put the plumbing together for the washing machine and gas dryer. Putting up the cedar planking for the closet was divine seeing as it is the only built-in storage in the whole entire house.


So it’s now after New Year’s and we’re still looking at bare adobe walls and unfinished floor in the shower. Even though Ben had started to experiment with making adobe bricks at Sahalee, this whole process of rehabbing the existing adobe structure from the inside out was very intimidating. I researched traditional techniques with local sources and watched (and rewatched) historical preservation techniques on YouTube. A local contractor or two came and went with no interest in helping me to pour a shower pan in place, or at least wanted to charge me thousands of dollars to do it. I owe a huge amount of gratitude to the incredibly talented Benito Steen for his kind and patient consultation. I finally felt confident enough to start in on shaping the walk-in shower stall.


Working with the natural mud was pure joy, but I couldn’t stop there. The shower pan required layers upon layers of man made materials and the exterior adobe wall had to be coated in modern stucco and and other waterproofing to give us the form and functionality we were after. I had to phone-a-friend a time or two to maintain my confidence level and clarify the order of operations. Big thanks to Ben’s little brother Jack -master of concrete- for reassuringly talking me through it. The mortar bed mud proved to a struggle for me as I couldn’t put enough pressure on the surface with my float to bring the moisture up. The top dried in more of a loose crumble than a tightly packed smooth finish. I just ended up dusting the loose material off and filled the divots with thinset. Indeed the slope on the elongated shower bed also became a tail chase. I also resorted to a fumbling plaster technique where I would just add gobs of more material than necessary to cover imperfections in a bid to take off the excess and smooth things out later on during the final finishing phase. More arts-and-crafts fun!


Once we moved on to the finishing layers (fortified Versabond), I felt a sigh of relief. All of the foreign elements had been addressed and so now I just had to perfect my trowel work. It was now May and I couldn’t help but wonder how many current students in this year’s graduating class in the US were actually considering a career as a professional plasterer. I started to think that might end up becoming my new profession when all was said and done! Not to say that we didn’t have some rework to manage after the first water test… Hairline cracks appeared and there was a pretty significant low spot that I was compelled to level out. The magic elixir in this recipe is called Floortek Nanocoat and it is a modern day marvel.


Now for the gravy, finishing out the drywall in the rest of the room (and hall) and installing ceiling panels, paint, and trim.


The finishing touches…