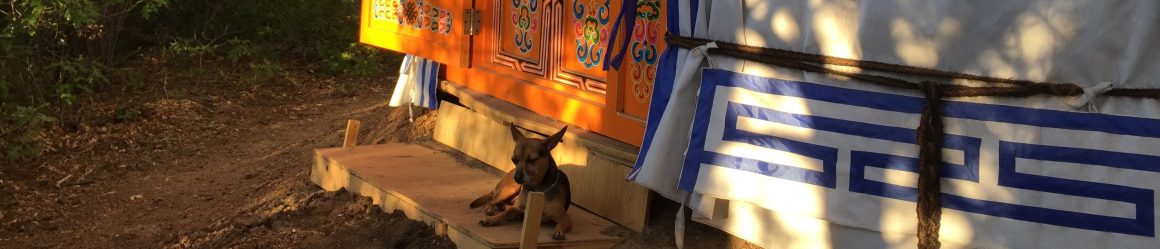

One of the benefits of living in a yurt is the many options for DIY repairs that can save money and exercise practical skills. While authentic Mongolian gers are made of traditional natural materials not found at the Home Depot, our ‘Yurt Daddy’ Yves encouraged us upon set up of our Super Ger in 2016 to not be afraid of innovating and making fixes with more conventional hardware store items. As much as we’d love to keep the authenticity of the horsehair ropes and other original equipment for time eternal, this was one more repair where we took Yves’ advice (after upgrading to ratchet straps). Read on to see what we did this time!

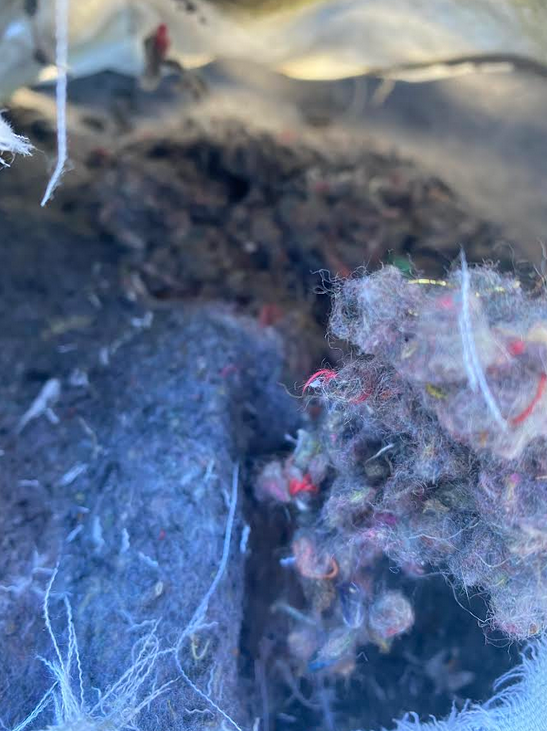
The urgh is the cover for the skylight/dome, the toono. We had to do some work on the vinyl windows of the toono a couple of years ago that you can read about here. When we replaced the full canvas cover last fall, we found that the urgh also needed some TLC.


We first priced out a replacement for the urgh with Groovy Yurts to retain the originality of our yurt, but we thought $450 plus shipping for this one piece was out of our budget at the time. Our plan then was to make our own with new materials that were similar but different. Since I had a ‘heavy duty’ sewing machine, I thought this would be easy enough. We bought 2 spools of outdoor 100% polyester thread and a pack of heavy duty needles for my Kenmore Ultra Stitch 158 to get us through.
We spent about $150 incl. shipping on 12 yards of 48″ Cotton Canvas Fabric 12 OZ – Water Resistant Treated from MyTarp.com. To start, I made two “squares” with a doubled over and reinforced center seam and pushed the mass of material under the needle. It was really quite a lot for my machine and small table at Casablanca to take but we made it happen! (Just for grins, I did ask them to quote pre-made squares. They said 12 oz Green color, 8’6″ x 8’6″ – Finished Size – No Hems – Price is $76 each, 8′ x 8′ were $60 each. Shipping for qty 2 is about $24. Looking back, I think it would have been worth it.)


After unsuccessfully trying to source old army blankets from local surplus and thrift stores, we ordered from eBay an 8-pack of US Military Issue Wool/Recycled Fiber Emergency Blankets for about $100 incl. shipping. We only used four of them to layer as insulation in between the two canvas squares, but that was the best price per piece we found when looking at all our material options. I hand stitched/basted these pieces to the canvas so they would stay in place when I ran the edges through the machine. At this point, pushing all this material through required a second pair of hands, so Ben jumped in on his day off to help us cross the finish line.


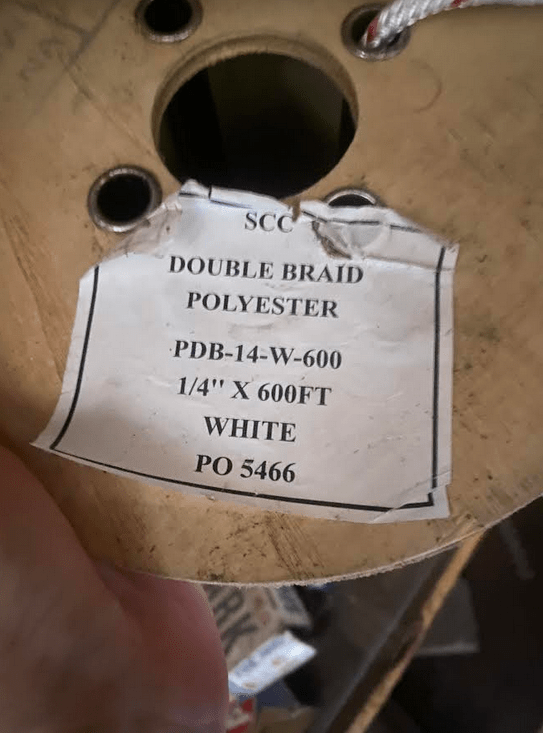
I left the corners open to pass the rope through from end-to-end in one solid piece (x2). We turned to our friends at Krisham’s Discount Rope Shop in Cocoa for the lines. We actually ended up buying a full spool of UV-resistant sailboat line for $295 incl. freight. (We needed more rope than just for the urgh to use in other projects so this gave us plenty to keep on hand for multipurpose use. Plus, we really wanted to support the small woman-owned business in the old neighborhood… Pam ‘The Rope Lady’ has been threatening to close her storefront for years because people generally don’t replace lines on their boats very often, keeping sales to a minimum.)


It felt so good to have the construction done since making the temporary repairs in October, but the timing was tough to actually install the dang thing. We had not been up to Sahalee after the winter snowstorms rolled in and there was no way we could break through going uphill in the truck. The wet weather had us chewing our nails since we knew the old tattered urgh would likely fail and let water inside if we didn’t make a swap pronto. Ben was game to hike in and haul the sled through knee-high drifts (our snowshoes were up on top – d’oh!). After getting there, we realized we still wouldn’t be able to make the installation happen because the snow and ice had locked everything up. We made the most of the trip, anyhow, and planned to put the new urgh up on our very next opportunity.


That turned out to be in May! Ben was away on fire duty, so I had no choice but to just take care of it.
All-in-all, we probably didn’t save any money making the urgh ourselves, but we ended up adding our own custom touch to our Super Ger and learned some things along the way. We love sharing our off grid adventures with you and are grateful for all your support over the years. Thanks for reading and comment to let us know what else you want to see!